CodyChat is a robust, user-friendly chat software designed to enhance online communication with a mobile-friendly interface and customizable features. This guide provides a clear, step-by-step process for installing CodyChat on your server, ensuring a smooth setup for your chat platform. Follow these instructions to get started.
Prerequisites
Before installing CodyChat, ensure your server meets the following requirements:
- PHP: Version 7.2 or 7.4 (PHP 8.1+ recommended for CodyChat versions 3.6 and 3.7).
- PHP: Version 8.2 or 8.4 (PHP 8.2+ recommended for CodyChat versions 6.x and 8.x).
- MySQL: A database server to store chat data.
- Web Server: Apache or Nginx.
- IonCube Loader: Required for encrypted core files (check with your hosting provider).
- Domain or Subdomain: A registered domain or subdomain for your chat site.
- VPS Server: Recommended for optimal performance, though shared hosting may work for smaller setups.
- CodyChat License: Purchase a license from the BoomCoding Store (boomcoding.com). Each license is valid for one domain and one active chat instance.
Step 1: Purchase and Download CodyChat
- Register at BoomCoding Store: Visit boomcoding.com and create an account.
- Purchase a License: Buy a CodyChat license, which will be linked to your account. You’ll receive an activation code via email.
- Download CodyChat Files: Log in to your BoomCoding Store account and download the latest CodyChat software package.
Step 2: Create a Database
- Access Your Hosting Control Panel: Log in to your hosting provider’s control panel (e.g., cPanel).
- Create a New Database:
- Navigate to the “MySQL Databases” section.
- Create a new database (e.g.,
codychat_db). Do not use an existing database used by other scripts. - Create a database user and assign it to the database with full privileges.
- Note the database name, username, and password for later use.
- Optional Tutorial: Refer to your hosting provider’s documentation or watch a video tutorial on creating a database in cPanel for guidance.
Step 3: Upload CodyChat Files
- Choose Installation Directory: Decide whether to install CodyChat in the root directory (e.g.,
yoursite.com) or a subdirectory (e.g.,yoursite.com/chat). - Upload Files:
- Use cPanel’s File Manager or an FTP client (e.g., FileZilla) to upload the CodyChat files.
- Unzip the downloaded CodyChat package and upload all files to your chosen directory.
- Ensure no file transfer errors occur during the upload.
- Set Permissions: Adjust file permissions (e.g.,
chmod 755for directories and644for files) if required by your server.
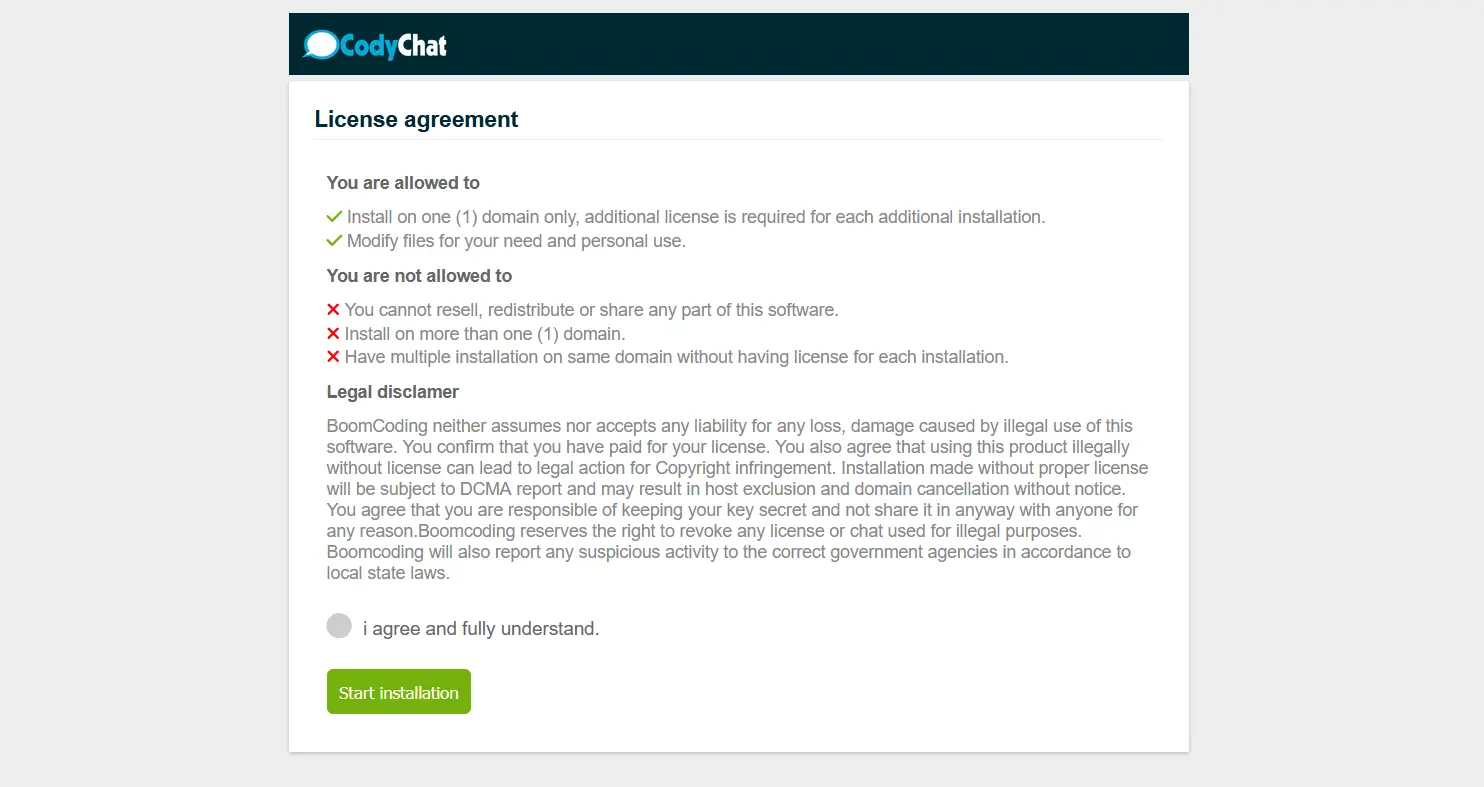
Step 4: Run the Installation Wizard
- Access the Installer: Open your browser and navigate to the installation directory (e.g.,
yoursite.comoryoursite.com/chat). - Follow the Installation Prompts:
- The CodyChat installation wizard will guide you through the setup.
- Enter your database details (name, username, password).
- Provide your BoomCoding Store email and activation code when prompted to validate your license.
- Complete the Setup: Follow the on-screen instructions to configure initial settings, such as admin account details and site preferences.
- Verify Installation: Once complete, you’ll see a confirmation screen indicating a successful installation.
Step 5: Configure and Customize
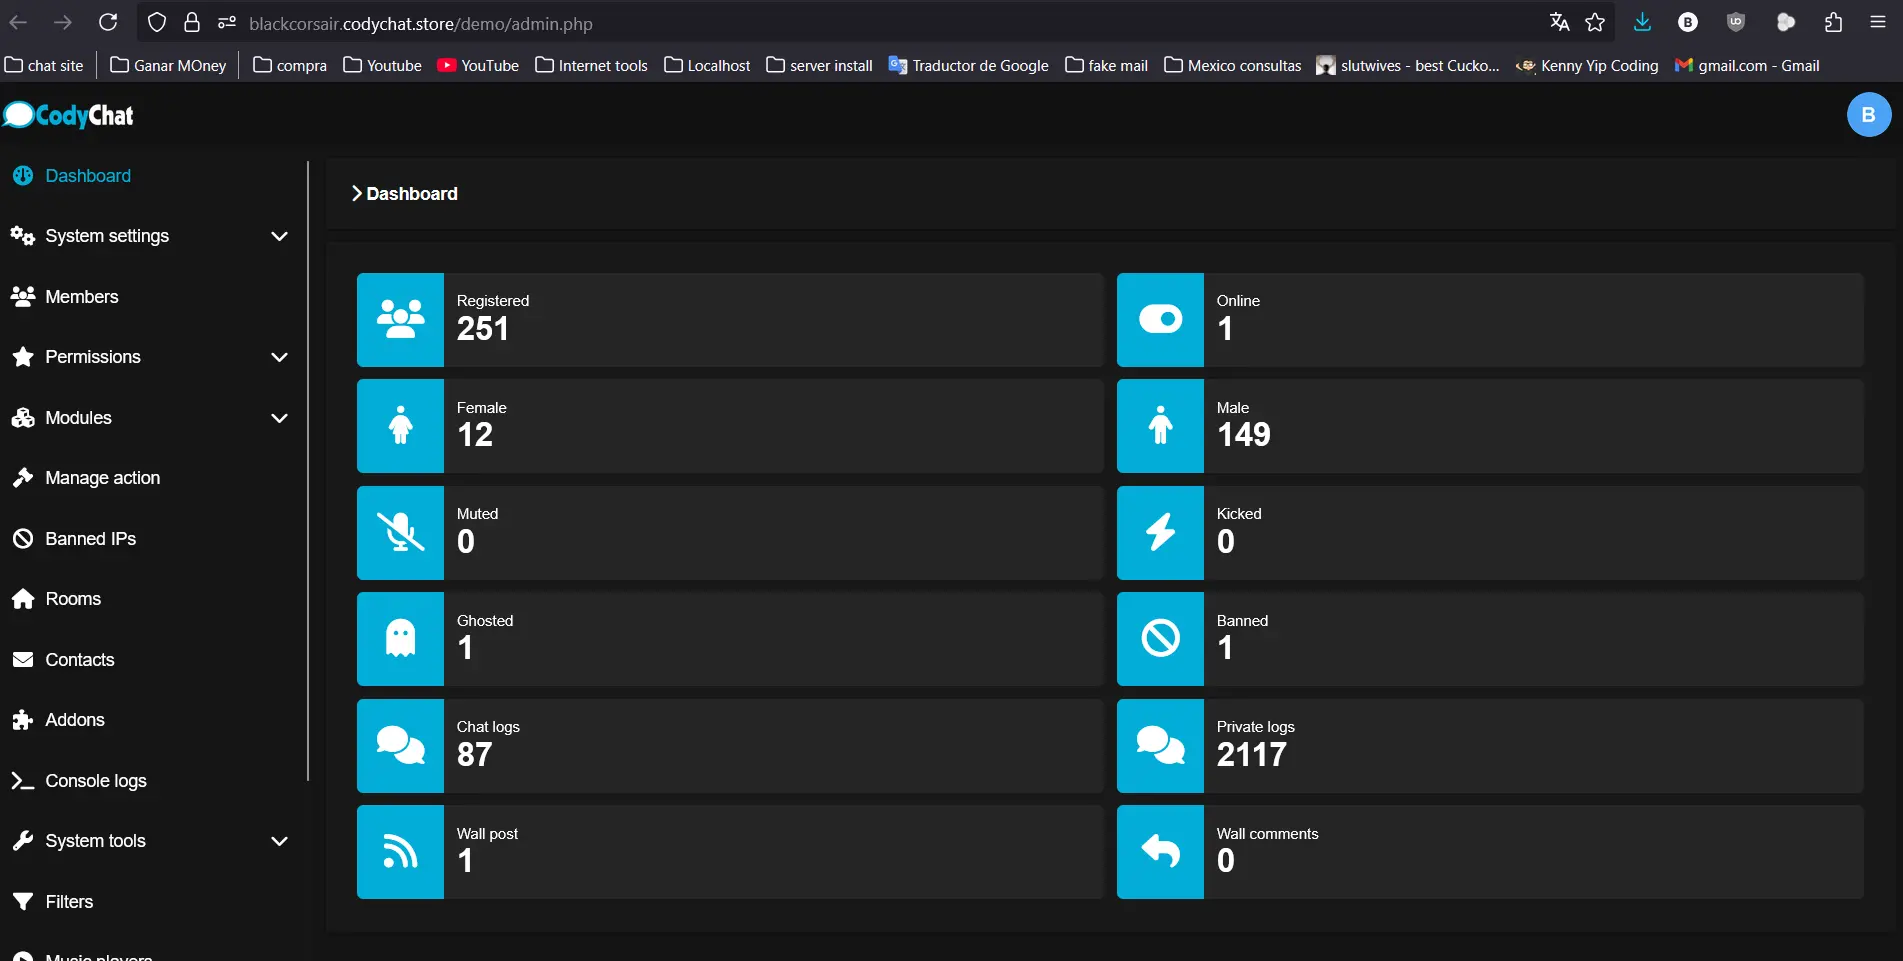
- Access the Admin Panel: Log in to your CodyChat admin panel (usually at
yoursite.com/admin.php) using the credentials set during installation. - Customize Settings:
- Adjust chat settings, such as themes, user permissions, and room configurations.
- Install add-ons (e.g., GIF search, quiz bot, or video chat) from stores like BlackCorsair Store to enhance functionality.
- Secure Your Site: Enable security features like Cloudflare-based DDoS protection to safeguard your chat platform.
Step 6: Test Your Chat
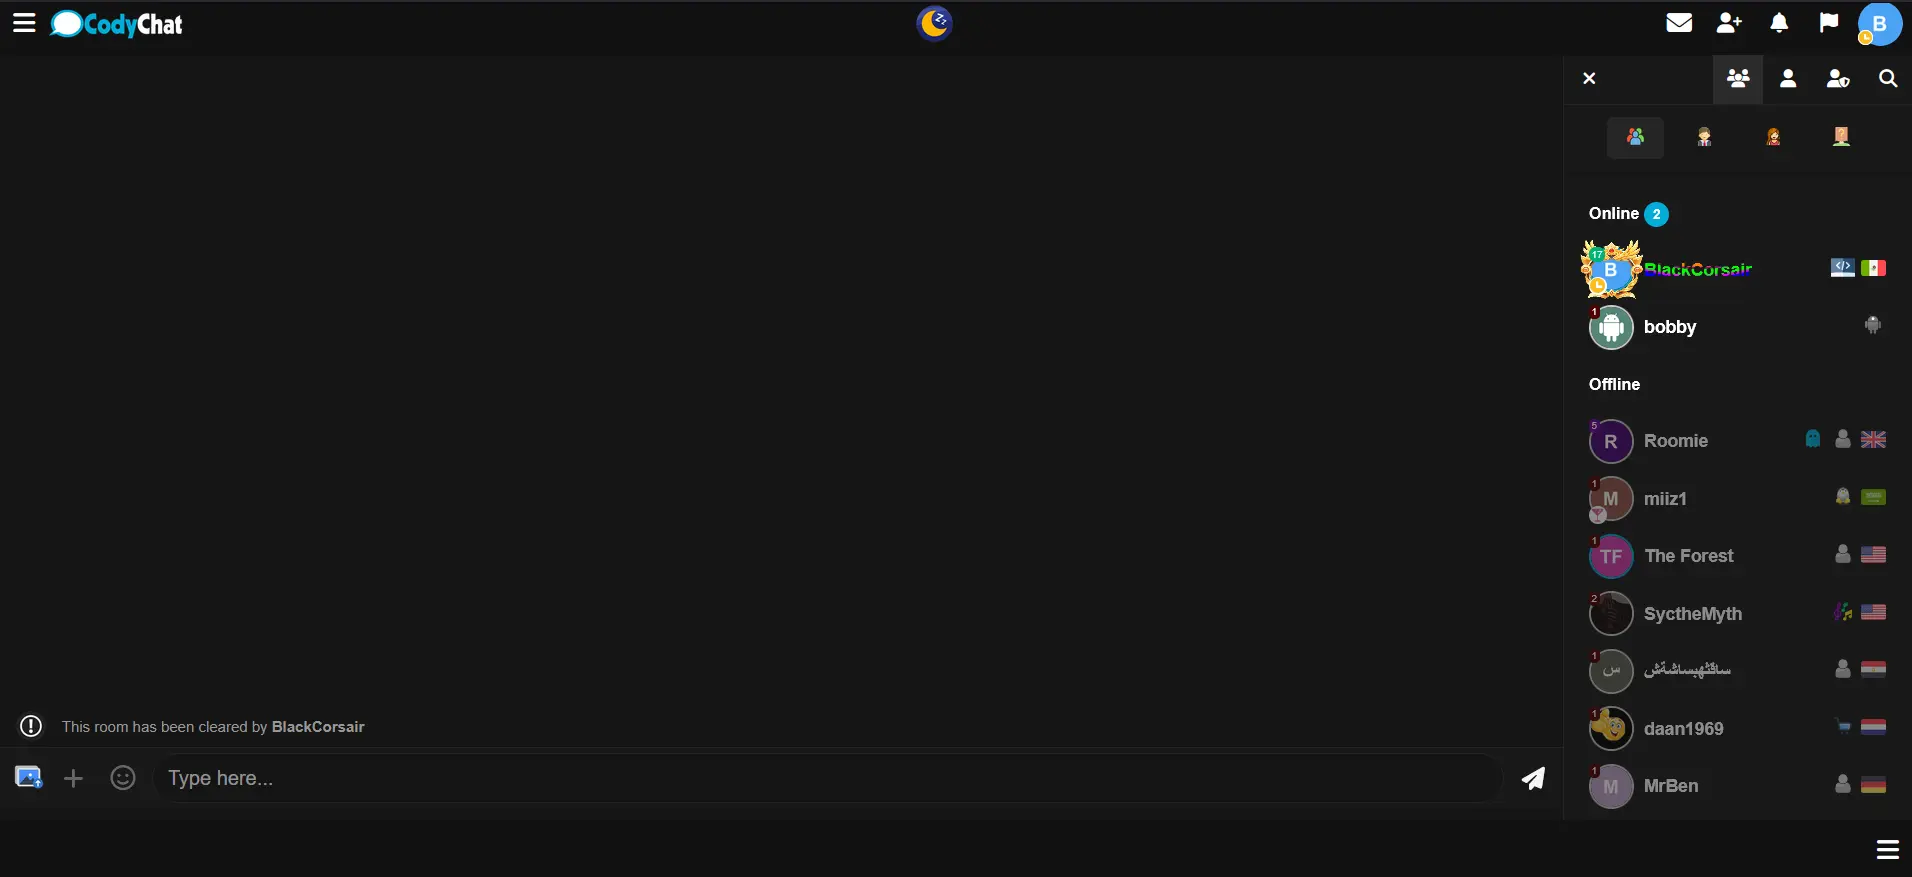
- Visit Your Chat Site: Open your domain or subdomain in a browser to ensure the chat loads correctly.
- Test Features: Check core features like messaging, user registration, and mobile responsiveness.
- Monitor Performance: Ensure your server handles the expected user load, especially if using a VPS.
7: Troubleshooting Tips
- Database Errors: Double-check database credentials and ensure the database user has full privileges.
- License Issues: Verify your activation code and email match your BoomCoding Store account.
- Addon Installation: Download add-ons only from trusted sources like codychat.store, and follow their specific installation instructions.
- Contact Support: For issues, reach out to BoomCoding support at [email protected] or via the store’s support system.
Additional Notes
- Add-Ons: Enhance your CodyChat site with add-ons like profile GIFs, room gifts, and many others, available at stores like BlackCorsair Store or X-Store. Always check compatibility (e.g., CodyChat versions 3.6 or 3.7 with PHP 7.4 or 8.1 or CodyChat version 8 with php 8.2).
- Security: CodyChat is designed with security in mind, protecting against attacks like XSS and remote code injection. Keep PHP updated for optimal security.
- Hosting: For heavy usage, consider a VPS over shared hosting to avoid performance limitations due to CodyChat’s PHP backend.
Congratulations! Your CodyChat platform is now installed and ready to connect users worldwide. For further customization or support, visit the BoomCoding Store or contact their team. Happy chatting
Leave a comment
Your email address will not be published. Required fields are marked *
Related Articles
How to Add a Cron Job for the Adnoyer CodyChat Addon
The Adnoyer addon for CodyChat is a powerful tool for sending automated messages to chat rooms...
Step-by-step guide to learn how to install a CodyChat addon
This article provides a step-by-step guide to installing a CodyChat addon, ensuring a smooth process for...
How to Start in Web Development: A Comprehensive Guide for Beginners
Web development is an exciting and rewarding field that combines creativity, problem-solving, and technical skills to...